The top 3 secrets for how I paint my glass ornaments
Did you ever wonder how I paint on these glass ball ornaments with such tiny details? Well, hold onto your seats because I'm about to tell you.
I've developed a few tricks over the years. Of course, I can't share them all with you! That would be bad for business. But here are the top 3 for you to get an idea of what goes into your favorite ornaments.
1. Not all paints are created equal. So I choose my paints very, very carefully.
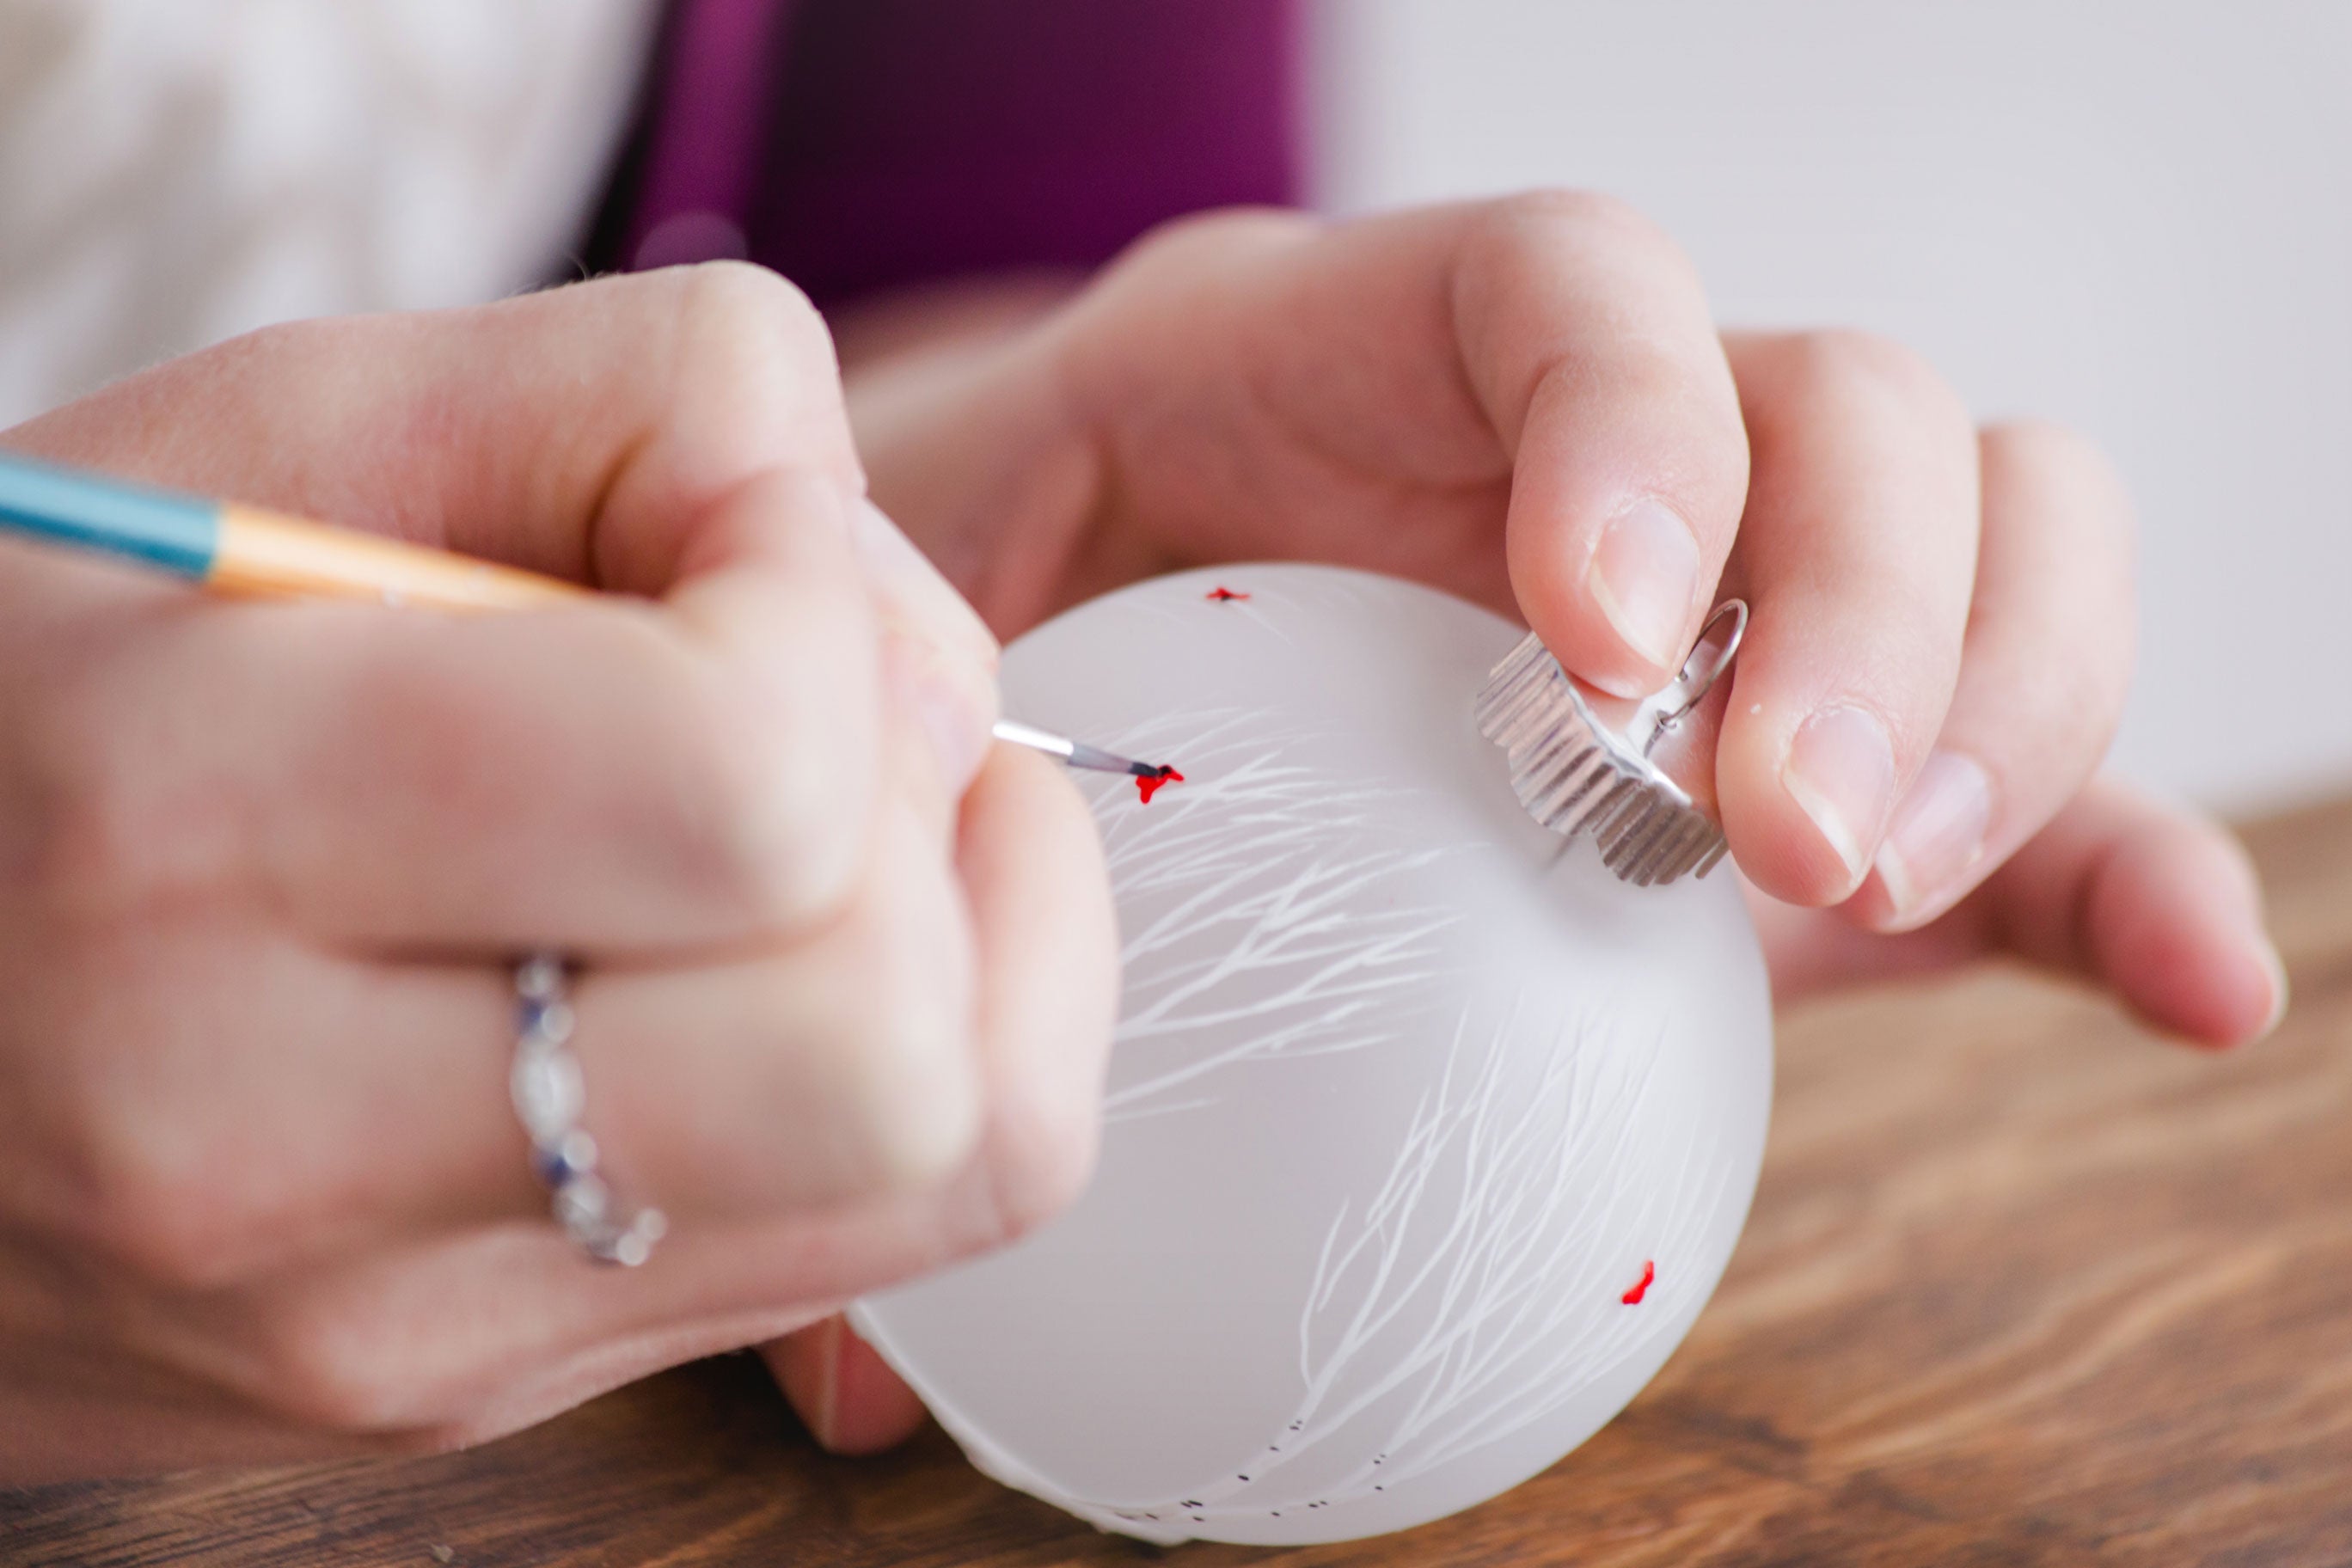
I spent a lot of time deciding what brushes I like to use. At first, I thought I needed an expensive brush to get tiny details. But even those expensive brushes got old and frayed. I decided that for what and how I paint, brush price doesn't matter as much. I like the Snap! brushes from Princeton and choose the smallest brush size for tiny details. I prefer a number 0 round for everything from lettering to branches, and a number 3 for larger elements. But I also love my tiny Filbert brushes for filled areas, and I have a great angle brush for making my pine trees. They're all Snap brushes, and I love them (bonus - they're inexpensive to replace when they get worn out).
3. Fall back on your childhood techniques, and have fun.
As a child in the 90's, I decorated more than my fair share of clothing and accessories with puffy paint. As it turns out, all that practice made me quite good at making swirls and tiny snowflakes! I've evolved a bit, though. Instead of puffy paints, I use a special applicator bottle with a tiny metal tip. Put in Martha's paint, and I can create a whole range of designs with that tool.
So there you have it. My top 3 behind-the-scenes trade secrets. I hope it helped you see a bit more into the work that goes into creating my ornaments! You can shop my full range of ornaments at my Etsy shop, Phylogeny Art, and find a select grouping of my best-sellers on this site as well!
Happy holidays!


Leave a comment